Search This Blog

Monday, December 31, 2012

Goodie Square Poncho for Eden

Seems I've got my days and nights all meshed up and am having trouble sleeping. I've been working on a few cowls and finishing them off with crochet edgings. Eden decided that it was time for me to make something to replace a few crocheted and knitted items that she has outgrown. My grandmonsters call me "Goodie" so I took the liberty of renaming the staple grannie square to ummm... to the Goodie square.


Friday, December 14, 2012

Knobbie Hat for Zero


This was a fun project. Knit with scraps (two strands of worsted weight yarn--gray throughout. Some call em tendrils... I call em knobbies... Zero says the hat is really comfortable and warm. The next one I think I will make the knobbies longer and perhaps have a longer band.

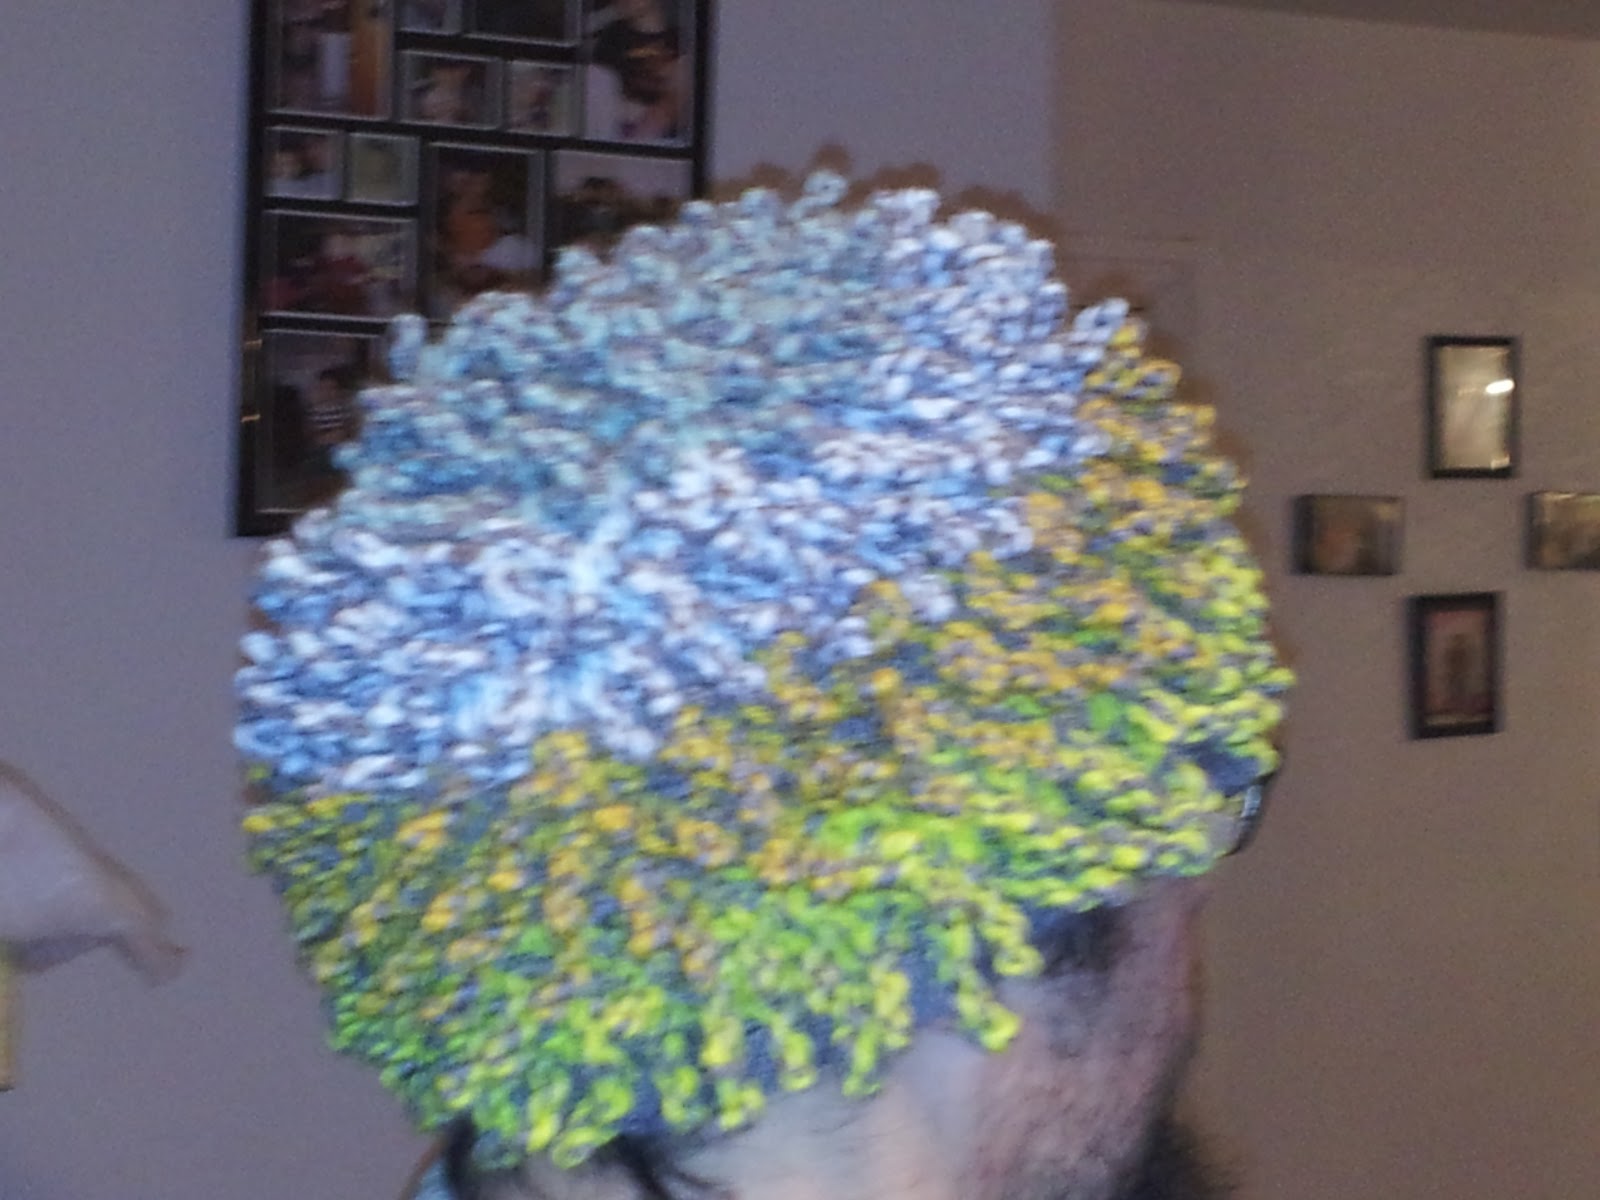
My handsome granddog Marvin... modeling the Knobbie hat

MY NOTES (WARNING: THIS IS NOT A PATTERN…THESE ARE JUST NOTES AND NOT SET IN STONE PROCEED AT YOUR OWN RISK)

For this one I just grabbed some scrap worsted weight yarn, a 5mm circular needle, cast on 80, 2X2 ribbing for about 1 1/2 inches in main color (gray), then knit 2 row stockinet. Place a marker.
Pick up the second color (in this case yellow).

Knobbie row: Holding the two strands together (gray and yellow) k2 and make a Knobbie. Repeat all the way around to the marker.

HOW TO MAKE A KNOBBIE? Cat Bordhi’s Knit-as-you-go Tendrils 

I call mine Knobbies because they are made with 2 strands of worsted weight yarn held together and are squatty—ish.

The Knobbie I made for this hat were pulled about 3 inches (remember the Knobbie is made from 2 strands of yarn held together as one) and twisted 7 times.

Next row: stockinet with the yellow only (1 thread of yarn). Each stitch will be a 2-thread stitch {gray and yellow} . When you reach the marker you will have a row of 1-thread stitches (yellow) and then you will pick up the gray to make another Knobbie row of gray and yellow.

Stagger the Knobbies. If you started the last Knobbie row with a Knobbie, then knit 2 and Knobbie. CLEAR AS MUD HUH?

The body of the hat consists of 4 stripes of contrasting yarn colors—yellow, orange, green, and blue.

Stripe:

1 row of Knobbies (2 strands of yarn)

1 row of stockinet (1 strand of yarn – contrasting color)

Repeat 4 times for each stripe. (CONFESSION--I am aware that the orange stripe has and extra row of Knobbies... but in my defense... I was knitting this on the way to pick up my Studio knitting machine and NO I wasn't driving...)

How to reduce stitches evenly: The Knitting Fiend

I started decreasing after the orange stripe and only on the stockinet rows*

Zero has a small head, but a load of curly hair. I wanted this hat to fall around his eyebrows without the need to “fold-up” the band. You may want to start decreasing earlier or later depending on the length of hat you want.


Decrease from 80 to 70 stitches (k6, k2tog) 10 times
Knobbie Row
Decrease from 70 to 60 stitches (k5, k2tog) 10 times
Knobbie Row
Decrease from 60 to 50 stitches (k4, k2tog) 10 times
Knobbie Row
Decrease from 50 to 40 stitches (k3, k2tog) 10 times
Knobbie Row
Decrease from 40 to 30 stitches (k2, k2tog) 10 times
Knobbie Row
Decrease from 30 to 20 stitches (k2, k2tog) 10 times
Knobbie Row
Decrease from 20 to 10 stitches (k2tog) 10 times
Cut yarn, run through last 10 stitches (twice) and draw up and secure


 *You have to eyeball where to put the Knobbies after decrease rows to even out the appearance of the hat.

Sunday, November 25, 2012

Ruffles n Stockings...

I finally set up and completed a project on my new Singer Futura XL-400 30 Stitch Sewing and Embroidery Machine. E$ needed a stocking for his very first Christmas. Reese-Reese dropped off the fabric and left me to it. To be honest I was and still am a bit anxious about the machine... and for the life of me I don't know why. I have had multiple sewing machines, sergers, and embroidery machines and they have never intimidated me in the least... This one... well...


Ok... the heel looks a bit funky...

I took off some of the heel... Better?

Ruffle skirt... Eventually

Red Heart Boutique Sashay (Mambo)

Thursday, November 22, 2012

Monday, November 19, 2012

USM Wingspan Scarf... ish

I've been working on a version of the Wingspan for the USM

Patons Lace Yarn (Patina)


MY NOTES: (WARNING NOTES NOT COMPLETE)

KP2

Double e-wrap cast on - 60 needles

COR - k 2 rows COR

Place all needles but last 3 needles on the right into FHP

K 2 rows COR

Put next 3 needles into FWP and k 2 rows

Continue putting next 3 needles into FWP until all needles are in work

When the last 3 needles are in FWP k 1 row ending with COL

Bind off the first 15 stitches on the left then k 1 row COR

Increase 15 stitches on the right of the knitting using a double e-wrap cast on. To do this I hung a weighted rag hem on the 15 needles to the right of the knitting. Knit 1 row of ravel cord. Then double e-wrapped the needles to begin the next triangle.

This I repeated until I had 12 triangles and all needles in work. Knit 2 extra rows and bind off.

I completed the edges using a single crochet stitch.

Thursday, November 1, 2012

Amazing Siberian Slippers for Eden

After stalking these slippers for months (via Ravelry) I finally purchased the pattern this morning and got started on a pair for Eden.

Amazing Siberian Slippers (Ravelry link)

Chicken Stitches


Just finished another pair of stretch socks for E$

This yarn reminds me of glofish or neon tetras


Monday, October 22, 2012

Slipper Socks for Julian

Puff Paint on the bottom to give a non-slip surface (left sock before steaming... right sock after steaming)


Unwound!!!

I am sort of proud of myself this week... or rather last week. I finished several projects that I had been neglecting. A pair of slippers for Julian and two baby blankets for a brand new set of twins (Ryan Lee & Haylie Lynn. Born on Friday, October 19, 2012). The new Daddy has promised pics soon.

Usually, when I make baby blankets I will rewind the yarn into cakes or large center pull balls. I have been a bit apprehensive about unwinding so much yarn into a bowl or container prior to knitting on the USM, but this time I decided I would be brave and I am sooooo glad I did! The knitting went so much faster than having to stop and pull out enough yarn to make a row. Now, I am looking for a line stripper  to make the process even smoother...


Monday, October 1, 2012

Mamma Has a New Toy!!!

I wanted a new... well newish knitting machine... Look what I found on Craig's List for $150 bucks!!! A Studio 322 with ribber attachment, punch cards, some paper pattern thingies, 2 yarn winders, and some various yarns. I'm not really sure how to use it yet, but I'm so excited I could just tinkle!!!!
The ribber attachment is still in the box. I am not ready to attempt that yet...


Monday, September 24, 2012

Entrelac Tote

I have been working on a few odd projects this week. To be honest, getting out of bed in the morning is a challenge. September is a month of anniversaries and Billy's birthday. The first birthday since his death in January. I had some foolish notion that time would make things better to deal with... I was wrong. I have decided that I should not be so hard on myself and let myself have time to grieve and work through... sometimes.. just through a day...

I was rummaging through Diana's YouTube videos and decided that it was time to make her Entrelac Tote.

Just need to add a liner and the tote is ready for tote'n

Knobby hat for Zero

My inspiration for many of my projects in yarn and in life!
Eden and Charlie decided they wanted to share a cup of hot tea with me this afternoon. They both decided that hot tea was not ummm... their cup of tea... LOL!

Wednesday, September 12, 2012

Quick Diaper Cover

I am attempting to bust my yarn stash and find quick projects to make for new and expected babies. I have hand-knitted and machine knitted woolies or soakers out of 100% wool in the past for mothers that wanted them for use with cloth diapers. This particular diaper cover is for use to cover disposable diapers and not for the cover's ability to resist moisture.
I was reading Stefanie Japel's blog post "Soakers and a Tutorial (how to knit your own)" and thought... hmmmmmm... this might be something to make on the USM! O Lordy I'm brilliant! No? Any who... the diaper cover is a breeze to knit up. However, I will make some adjustments for the next one...


Oh... the piggie? Well she is tuckered out watching me knit... 

Callie
MY NOTES: WARNING!! These are just notes, pattern has not been tested for accuracy as of yet.

Cast on 80 needles
Double ewrap
KP2
Knit 10 rows
Convert 1X1 ribbing
Knit 6 rows
Begin decreases: When the carriage is on the right decrease the last stitch on the left. When the carriage is on the left decrease the last stitch on the right.
NOTE: To make sure this stitch knits appropriately, put the needle in FWP and make sure the stitch is behind the open latch.
Be sure to adjust weight accordingly
Decrease until there are only 2 stitches left and bind off
At this time you can either hang the leg edges and knit 1X1 leg ribbing or stitch up the points and knit the leg ribbing by hand. I sewed up the front seam and down the leg openings a bit and hand knit the leg ribbing using size 5 circular needles

As Follows: Pick up stitches around the leg opening
Row 1&2: k1, p1
Row 3: Decrease evenly until there are @36 stitches left
Row 4: k1, p1
Bind off using Jeny's Surprisingly Stretchy Bind-Off


Monday, September 10, 2012

Circle Vest for Kat


I have always wanted to knit a circle vest and have saved many a picture of them from various sites. This is a very simple pattern but takes quite a lot of hand converting to make the ribs. Simple, but awkward when going from the back section to the top ribbing section. The vest is knit in a one piece (sort of) rectangle, folded, then sewn partly up the sides to create armholes.


My Notes: WARNING!! These are just notes, pattern has not been tested for accuracy as of yet.

Sizing note: Back length (from the bottom to the top of the back includes the bottom 2X2 section and the middle 1X1 section @ 22 inches. DOES NOT INCLUDE THE TOP 2X2 section as I refer to this as the collar of the vest.
The back section (1X1) is @ 13 inches wide while the vest is in resting. This stretches when the vest is worn, but when lying on a flat surface the vest back will draw up to about 13 inches wide.
The vest is made for my daughter Kat who wears a ladies medium.
Cast on 144 needles
Double ewrap
KP3 – knit 50 rows
Convert the 50 rows 2X2 ribbing
Knit row 51 by hand and then decreased by half leaving EON empty. Drop MY DO NOT CUT!
Change to contrasting waste yarn and knit 1 row. Bring the empty needles to working position and knit several rows making sure to have plenty of rows so that it does not unravel.
Remove the knitting from the USM and re-hang on the machine using every needle (this will be half of the original cast on needles)
Knit 70 rows using MY
Convert the 70 rows 1X1 ribbing
Knit row 71 by hand making generous sized loops (or use KP4 to knit this row)
Drop MY DO NOT CUT!
Change to contrasting waste yarn and knit 1 row. Knit several rows making sure to have plenty of rows so that it does not unravel.
Remove the knitting from the USM and re-hang on the machine using every OTHER needle (original cast on needles)
CHANGE BACK TO KP3
There will be an empty needle between each of the stitches. Bring up the bar between the stitches and hang it on the empty needle. (This is why I hand knit the stitches on the last row to ease the knitting back on to the machine) The last 10-15 stitches on each end of the piece will be in a bind and I chose to knit these by hand and not use the carriage for about 10 rows until there was no longer stress on these needles
Knit 50 rows using MY
Convert the 50 rows 2X2 ribbing
Bind off using a stretchy bind off method. I started on the right side of the work.
Fold over and sew the side seams on the end (2X2 ribbing)

Thursday, August 23, 2012

Little Birds

I had put off using my USM to make certain types of stitches like stranding and intarsia. After watching Cynthia and Cheryl's videos I decided that I would give it a try. I knitted an earflap hat using Cheryl's "little lice" instructions. However, my daughter requested that I used the term "little birds" given the problem that the name may cause problems when the children wear the hats to school.


Sunday, August 19, 2012

Blooper for Zero!

Zero requested a Blooper earflap hat... I never say no to him (according to CoCo)...


He had to put on his Mario shirt for the pic!
My ZachARoni had to have one too!

Saturday, August 11, 2012

Rectangle Vest

Well I finally did it... I made something. It has been 7 months since I have knitted on The Beast and yesterday I decided to take the plunge. It is not like I haven't wanted to, I just didn't have the want to want to. I haven't wanted to do much of anything for a very long time. Just getting out of bed and sometimes getting dressed or brushing my hair is a feat in itself.
I was, as always... skulking around the USM group site on Facebook and after looking at a pair of socks that Joan had knitted on the USM and I felt a spark of inspiration. I felt an overwhelming need to get back to the things I love to do. Later I received a precious message from Joan which really blessed me. She may never know just how timely that message was and how much her kind words meant to me. 
I hear so many people complain about Facebook... and yes, many of their complaints are valid... but I for one can say that Facebook has been a blessing in my life. 
I have times that there is no way I can leave the house and for sure cannot be around people for fear of breaking down. Facebook has kept me in touch with dear family, old friends and offered me many new friends that chat, play games, knit, crochet, and yes even share the burden of grief that comes from the loss of a loved one. 


Monday, April 9, 2012

BON JOVI I Think I've Got It!!

I have been fighting the inevitable "piggie hay mess"... ya know, the mess the piggies make by tossing hay out of their cage all over the floor. Well I tried a hay rack, a hay box, etc. Still I had more hay ending up on the floor of the cage and the floor under and around the cage... and after the dogs have played in it... hay all over the house.  This nifty hay dispenser consists of a small bungie cord, a  PVC connector and a backsplash of cardboard.


Sunday, April 8, 2012

Preemie (Doll) Stretch Socks


These socks actually decrease after the heel making the ankle smaller than the foot to accomodate smaller ankles and soft body type ankles. The yarn used is stretchy and is helpful in avoiding slippage. These socks are for preemie sized dolls. I would not recommend them for human preemies.


MY NOTES:
WARNING!! These are just notes, pattern has not been tested for accuracy as of yet.


TOE UP ON SIZE 0 DPNS


CO 10 (5 LOOPS) (5 PER NEEDLE)

INC EOR TO 26 (13 PER NEEDLE)

PM

K  18 ROWS

HEEL:

MARK CENTER OF HEEL

KNIT TO 2 STS BEYOND THE MARKER (http://www.youtube.com/watch?v=qMrGhzUp6LE)

SSK, K1, TURN

SL 1, P5 (2 STS BEYOND MARKER) P 2Tog, P 1, turn

SL 1, K6, SSK (CLOSING THE GAP) K1, TURN

SL1, P7, P2Tog (CLOSING THE GAP) P1, TURN

CONTINUE ALWAYS WORKING 1 MORE AFTER THE GAP

ON THE LAST ROW (K ROW) SSK ACROSS THE GAP K1… THEN KNIT THE FRONT AND CLOSE THE LAST GAP WHEN YOU START THE NEXT ROW ON THE HEEL NEEDLE

K 15 ROWS SS

K  5 ROWS 1X1 RIB

STRETCHY BIND OFF